
I fell in love with my grandmother’s peach jam as a little girl. Now I’ll show you how to make it using 3 lbs. of fresh peaches, 5 1/2 cups of sugar, 2 Tbsp. lemon juice and 1 box of Sure Jell.
*** IMPORTANT NOTES ABOUT THE VIDEO *** Two clips got inadvertently left out of this upload.
- I DID add the 2 Tbsp of lemon juice to the peaches before cooking the jam.
- There is a rack in the bottom of the canner. I should have mentioned it, but you never can anything without some sort of rack in the bottom of your pot.
For all of the canning safety rules, please visit the National Center for Home Food Preservation
https://nchfp.uga.edu/how/can_home.html
For more canning videos, I absolutely recommend Moore2Life and Suttons Daze.
Video Transcript
The video above does have captions, but if for some reason you just want to read the word-for-word transcript, it is published below in its entirety.
Hi friends! I figured it was finally time for me to make another video. Last one I did was on collards and corn meal dumplings. It’s been a while since I made another one, I just have been busy. This time I decided I wanted to do something that was a special memory for me from childhood.
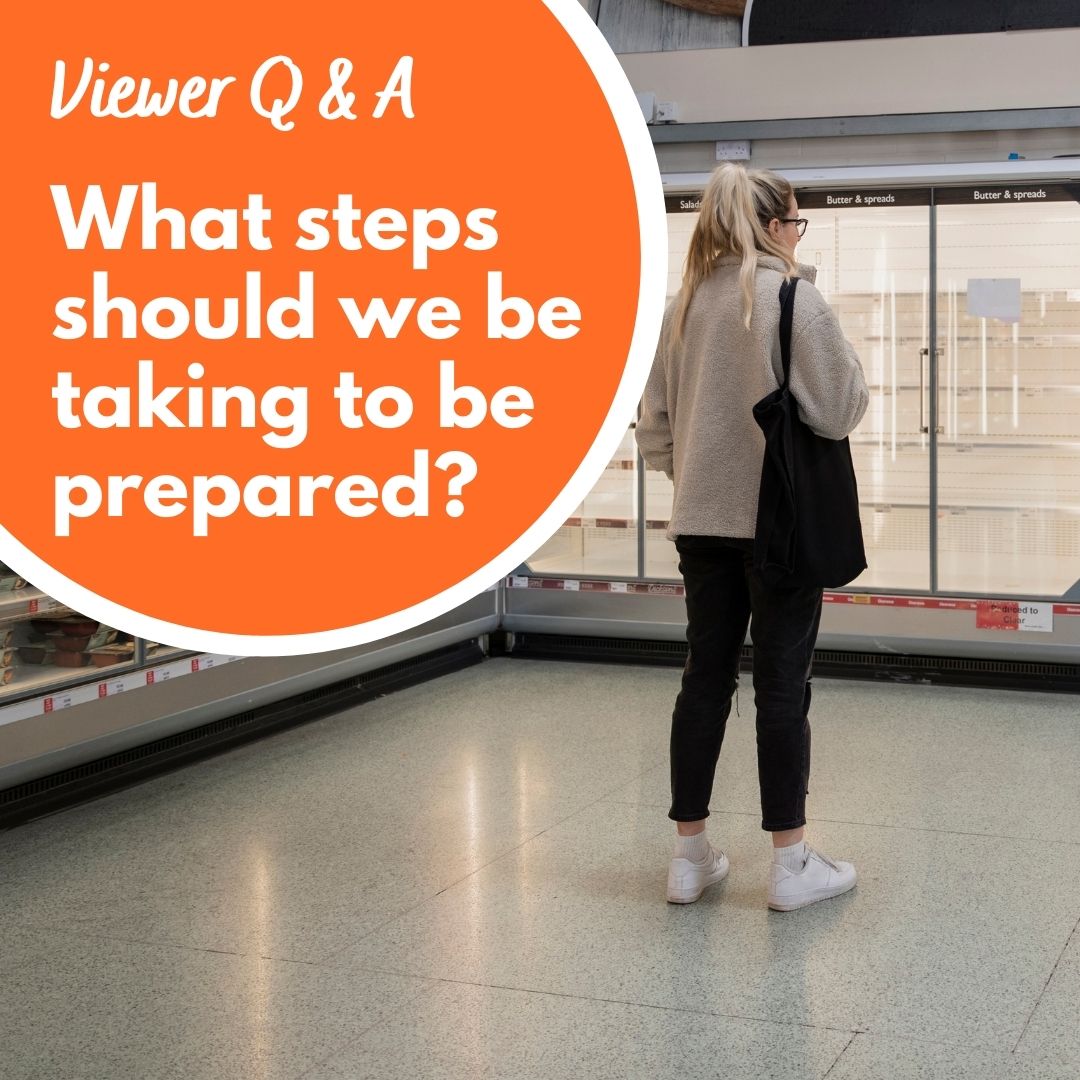
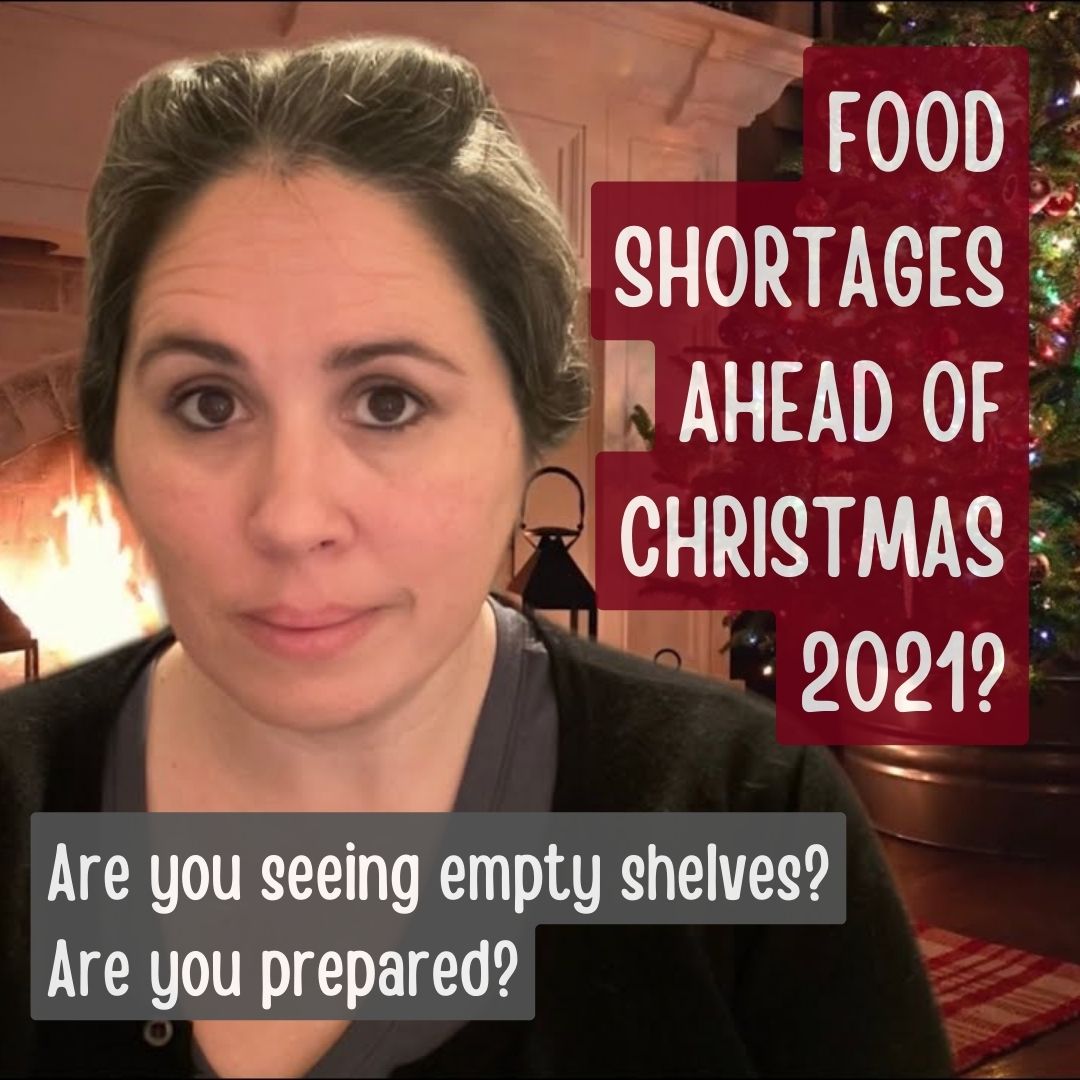
I’ve been canning like crazy recently. I’m sure everyone’s thinking about food storage, and what if there are future events like the one we’ve gone through over the last several months where you might not be able to go to the grocery store and you might not be able to have things on hand. So people have been canning. You can’t even buy pressure canners right now. Same thing with canning lids. We’ve been doing all kinds of canning. But today I’m going to do something that anybody can can. You don’t have to have a special canner for it. This is peach jam. It is so good and it is a memory from my childhood. You know, my grandmother used to make this when I was a little girl. Well, I’m sure she made it long before I was a little girl, but I remember it from being a little girl because my parents were divorced and I grew up in Raleigh, but my grandmother lived in Craven County. And she would send giant jars of peach jam with me back to Raleigh when she made some. I don’t know if she made it in these jars for everyone. She probably did, but she wanted to make sure I had plenty of it. Plus when I would come down to her house and she would make her delicious biscuits I’d be able to slather some butter and peach jam on her biscuits and it was amazing! So anyway, today I’m going to be making some peach jam. I’m going to be canning it and showing you how that works.
This is definitely an old-school thing to do. You know, the thing that’s so funny to me is that I asked my aunt a couple of months ago, I said, “How did Dada used to make that peach jam? That was the best peach jam. Did she have a particular recipe for it that you have.” And she said, “Oh, she just used the recipe on the back of the Sure Jell box.” So there it is. I’m going to be using the Sure Jell recipe for peach jam, and it is amazing, so stick with me! Thanks!
Ok, this is what you’re going to need to make the peach jam. Here’s the little Sure Jell recipe right here.
You’re going to need three pounds of peaches. It says one lemon, but you can also use bottled lemon juice. In fact, I’ve heard that bottled lemon juice is better because the acidity in it is more reliable. Then it says five and a half cups of sugar, so there’s a lot of sugar in this, and then you’re going to have seven cups of jam when you’re done, so let’s get started!
Ok, so the ingredients we have for making this are, we need at least three pounds of peaches. I have the peaches here and I’m going to be peeling them. I’ve got a bowl here of water with lemon juice in it just to keep the peaches looking fresh when I peel them and dice them and put them in the bowl. From there, we’re going to be moving on to the next step. I’m just going to start by peeling these peaches and getting them in some water that has lemon juice. That is going to help keep them from browning before I’ve had a chance to get them in the pot to start cooking them down into jam.
I know that some people might call, we’ve even called it peach preserves, and I guess technically there’s a different meaning of jam versus preserves and preserves is going to have more pieces of whole fruit in it and it’s not going to be chopped quite as much, but it still seems like I ended up calling this peach preserves when I was growing up. That was what we called it, but the box says ‘peach jam’ and I don’t want to confuse anyone so I’m going to call it peach jam.
Apparently, if you soak peaches in hot water for a minute, the skins will peel off very, very easily, but I’ll tell you, in my experience in the past when I’ve done that, the peaches get a little too soft and I don’t like that. It also makes a difference whether you have freestone peaches or whether you have peaches that are gripping the stone, because the freestone
peaches are a lot easier to get the pit out. The pit will just come right out of a freestone
peach, whereas with the other peaches, the peach will sort of grip on to that pit a little
bit. Once I get all these peaches peeled and cut up and put in this bowl with the lemon water, then I’m going to drain them and chop them and get my pot ready to cook the jam.
Ok. I’ve gotten all the peaches peeled. I have put the cut-up peaches in this. I added a little bit of lemon juice to this just to keep it from turning, and I used my handy chopper – the same chopper I use for collards to get these chopped, because the recipe calls for four cups of finely chopped peaches, which means not big chunks, not giant slices, and if you just use giant chunks or slices when you get to four cups you’re going to be losing some of the capability of putting more fruit in the jam because obviously chopping them finely causes them to go down and it makes more room for you to add more. It’s kind of like when you de-bubble jars and you’re canning vegetables or other things and then you go to add water and you use your de-bubbler, sometimes the items will settle and so then you can add more stuff. It’s similar in this case, you just want to make sure everything is really finely chopped.
Now I’m going to get started actually preparing the jam. I have the four cups of finely diced peaches here. I’ve gone ahead and measured out about five and a half cups of sugar. It is very important that you use the amount of sugar in the recipe or your jam will not set like it’s supposed to. Then I have my Sure Jell right here. So what I’m going to do now is I’m going to go ahead and I’m going to put my fruit and my Sure Jell into the pot and then I’m going to measure in two tablespoons of lemon juice. I’m going to turn that on. I’m going to get it going, bring it to a full, rolling boil, and then once it starts boiling, I’m going to add the sugar. It says in the instructions you can add a half teaspoon of butter or margarine to reduce foaming if desired.
I’m going to do that because I will put butter in anything that I have an excuse to put butter
in. So, bear with me. I’m going to go ahead and put in the fruit. This is a half-teaspoon of butter. I’m not trying to add more than that because really when it comes to canning, you’re not supposed to add dairy. The only time you’ll see it is in recipes like this when just the tiniest amount gets spread across multiple jars and that is to stop it from foaming up really
bad. Go ahead and get that turned on. I’m going to add the Sure Jell. The thing is to get the Sure Jell mixed in really, really good with the fruit. Let me see if I can get the camera so you can look in here and see what it looks like. Look a there. All those beautiful peaches. So I’m
just going to keep stirring this and then once it starts boiling, I’ll bring you back and show you when I’ll know it’s time to add the sugar. I do want to add this. I have sterilized my jars. They are in boiling water, in fact, in the same pot that I’m going to use to can the jam in, but I’ve just turned the burner off and I’m going to let those just sit and be nice and clean and ready for me to use when it’s time to jar up the jam. Ok, I want you to see this. This is starting to bubble just a little bit. This is not a rolling boil. Of course now that I’ve brought the camera over here it’s not bubbling. Oh, there we go. So see, it’s bubbling a little bit, but that’s not a rolling boil. I need to wait until it’s bubbling more rapidly all over before I add the sugar. We are at a full, rolling boil.
A full, rolling boil is when you’re stirring the fruit and it’s not going to stop boiling just because you’re stirring. Like it is an intense, intense boil so that means now it’s time for me to
add the sugar. And I can’t unfortunately stir and hold the camera at the same time so I’m going to put this down and stir. Once I get this back up to a full, rolling boil now that it has the sugar in it, I’ll have to boil it for one minute and then that’s it, and then it’ll be ready to jar up. Look how it’s starting to look kind of syrupy. It’s kind of clear and pretty soon it’s going to start boiling again, but again, I’m going to have to get it up to a full, rolling boil and then once it’s boiled for a full minute with the sugar in it, then it’ll be ready to turn off and jar up. One more thing I should mention is that you’re actually supposed to be stirring this constantly, because if you don’t it’ll stick to the bottom of the pot and nobody wants that. Ok, I’m up to a full, rolling boil. See how I’m not able to stir that down so I’m going to put my timer on for one minute. I’m going to keep stirring. Look at that. See how those peaches have cooked down to just about nothing.
They’re all incorporated into the jam now. (Beeping)
Ok, I’m going to just slide that over and turn my timer off and get things set up so we can jar these up. Ok, now I’m going to take these jars out of the water where I have been keeping them hot. You see how I put that tong all the way into the jar? Because that way it doesn’t slip out of my hand and spill boiling water on me and burn me. I’m just putting these right here. Ok, now I’m going to fill up these jars. I have the lids back here in a bowl, hopefully you can see that, where they’ve been kept in hot water, and I’ll put the lids on them as I go. And I’ve also sanitized this ladle that I’m using because I want to make sure it’s really clean. And we’re going to be filling these jars to within a quarter-inch headspace. The recipe is supposed to be for seven cups, but we’ll see if it’s actually doing seven cups. It might. But it might not. I think
it might make it. I think I have one jar that was a little over-full so I’m just going to steal a little bit from that jar and add it to this jar. I think that’s got it. Looks pretty good to me. So now, I’ve got to make sure all of the rims of all the jars are clean because we don’t want anything sticking to the top of the jars that’s going to prevent them from sealing correctly.
That’s got it. Now I’m just closing them finger-tight. That doesn’t mean you tighten them super-duper tight. You just want to make sure they’re on tight enough that the lids aren’t going to come off while they’re in the canner. Alrighty. Now, I’ve already got water boiling
in my water bath canner and I’m going to put these jars in the canner. They’re hot. Know
that you do not ever, ever, ever want to put cold jars into a hot canner but you don’t want to put hot jars into a cold canner because then you’re going to have glass shattering in your canner and that can be a mess!
Ok, I have all of my jars in the canner. It’s actually just a pot, it’s not technically a canner, a waterbath canner. Ideally, I would be using a deeper pot than this, but this is the one that I have. I have a pressure canner and it’s a lot bigger than this, but the problem is when you’re waterbath canning, you have to have the jars covered with water at least an inch and this pot is one in which I can do that and still bring it to a boil on my stove. Because the problem is, with my pressure canner, it’s so big, in order to totally fill it with water and get the jars covered, it takes my stove forever to get that water boiling. So it’s different, of course, when you’re pressure canning because you only have to have a few inches of water in the pot, but when you’re waterbath canning, you have to have the water covering your jars. And so what’s going to happen is I’m going to have these jars in the pot. I’m going to get it up to a boil and I’m going to boil them for minutes with the jars covered, and then after that, they’ll be done and I’ll take them out. And I’ll be right back with you when that happens.
Looks like times up! I’m going to get these jars out of the canner and I’m going to hold the camera this time because I can’t hold the tripod or have the tripod here and let you see what I’m doing. This way you can see what I’m doing. And I’m putting them on a dishcloth and the reason that I’m doing that is because you do not want to put hot jars on your cold countertop or your cold stovetop because that would be one of those temperature shock things where, again, you could end up with shattered glass. Not to mention, all that wonderful jam you’ve made would just totally go to waste. I’ll tell you what, it’s tricky holding this camera. I’ve got so much respect for all of the YouTubers who can and do videos because you’ve got to be kind of coordinated to be able to hold your camera and get these jars and things like that. Last one.
Oh, they look so pretty y’all. Look at those beautiful jars of jam! They’re going to be delicious!
Ok, that’s it y’all. Peach jam. I hope you enjoy it. If you like this video, please hit the like button below. I’m going to try to get more regular about making these videos so make sure you subscribe so that you’ll know. Hit the little bell to get a notification when I do upload — did you hear that? It was one of those pops on those jars. That’s awesome! — So, be sure and hit the bell so that way you’ll get a notification when I do upload another video and share with your friends if you think anyone that you know might be interested in this. I really appreciate you watching.
Thanks so much. Bye-bye.
