Well, it’s that time of year again where we start thinking about getting our hands dirty and planting some seeds for the upcoming spring.
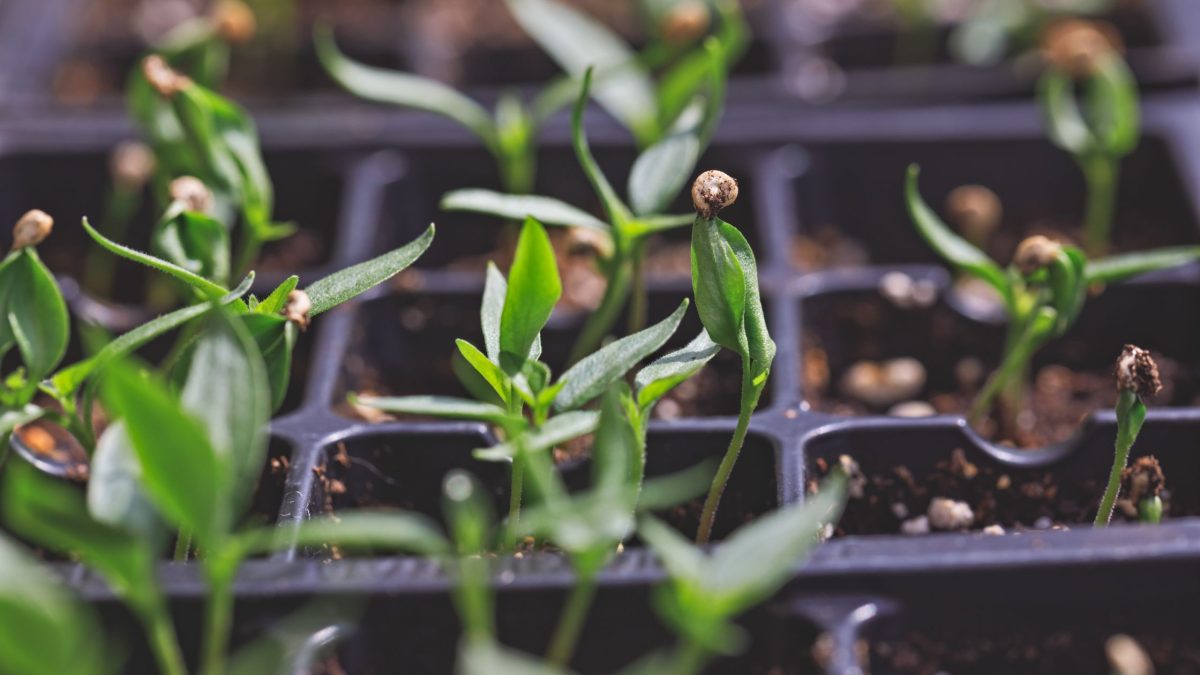
You might not realize it, but winter is EXACTLY when you should be starting many different kinds of seeds so they’ll be ready to transplant to your garden when spring comes.
With a little bit of effort and preparation, you can have a head start on your warmer weather garden!
Starting seeds in winter is the best way to get a jump start on the growing season
Starting seeds indoors in winter can be a great way to get a jump start on the growing season.
By starting seeds indoors, you can control the temperature, light, and moisture levels so you can make sure your little seeds have the best chance of germinating. (This can also possibly give you a chance to grow plants that might not normally be able to survive in your outdoor climate!)
The first step in starting seeds indoors is choosing the right seeds. Not all seeds are created equal, and some are better suited for indoor seed starting than others. (Some seeds are better direct sown in your garden, such as corn.)
Once you’ve chosen your seeds, it’s time to get your indoor setup ready. You’ll need a bright, warm location, with a temperature between 70-75°F.
A south-facing window is great if it’s really sunny for most of the day, but even with a south-facing window, you might not be getting enough light. This is where grow lights come in handy!
Keep in mind that most seeds need at least 14 hours of light per day to germinate. If you’re using grow lights, place them as close to the plants as possible without touching them, and turn them on for 14-16 hours per day. If you’re using a windowsill, be sure to rotate the pots every few days so that all sides get equal light exposure.
You don’t need anything fancy. Even just bright, shop lights will do!
If you want to go all out, you can also get some dedicated grow lights like these. (I don’t use fancy grow lights for seed starting. I just have some super bright LED light strips that I use to shine down on my starts.)
If it’s not warm in your seed starting location, you may also want to get a warming mat. Here’s the one I have.
You’ll also need a seed starting mix, some kinds of seed starting cells or pots (or even little paper cups like these can work! I’ve seen similar ones at the Dollar Tree).
Don’t water overhead. Water from the tray beneath the pots (or cups). Don’t let them just sit in water.
Until the seeds have sprouted, it’s a good idea to keep the planting tray covered with either a clear lid made for the tray, or you can even use a clear storage bin. Main thing is to keep the soil moist. (You just don’t want it soaking wet though.)
Once your seeds have sprouted and the plants have a few true leaves, it’s time to feed them. I like to make a very weak liquid fertilizer and water solution to add to the bottom of the tray. Miracle Gro is fine, but you can also buy a variety of other water soluble fertilizers that you can use to make a week feeding solution. (They shouldn’t get full strength fertilizer at this stage.)
Keep them growing indoors until it’s time to transplant them. You may need to pot them up a time or two before they make that transition. It’s going to depend on the plant.
Before you transplant them outside, you’ll want to harden them off by taking them outside for increasing amounts of time to be directly in the sun each day — starting out with a few minutes, and working your way up to an hour or a few hours — before sowing your new transplants directly into your beds. Otherwise, the sun can be too much for them. Also, just being in the open breeze can help the stems and leaves get acclimated to being outdoors.
That’s all there is to starting seeds in winter to get a jump start on spring planting!
Happy gardening!
Interested in more gardening content?
Visit the Gardening category right here on this blog
Visit my Gardening & Preparedness playlist on the main Old Time Knowledge YouTube channel
Visit my new OTK Gardening & Preparedness channel
